Applying Planned VFX and Motion Graphics
3D COMPOSITION
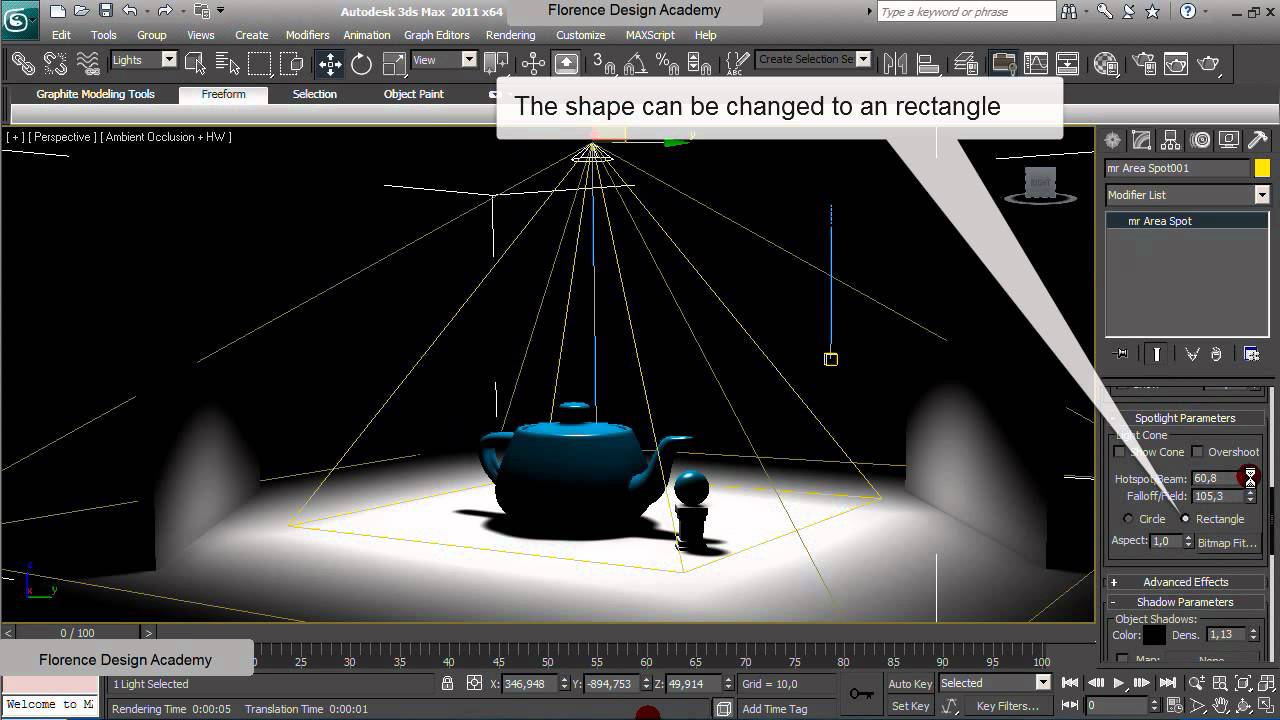
This stage required me to match the shooting conditions of the scene e.g Camera position and Lighting to match the scene properties in 3DSmax.
Camera Mapping: In order to place 3D objects into a scene I had to go through the process of camera mapping, camera mapping means recreating the position of the camera in the 3D software in order for perspective to be correct.
Creating the lighting: To light my scene in 3DSmax I used the V-ray sunlight tool to create a source of light, however this light was over exposed and did not reflect the lighting in my video footage. In order to match the lighting this is the process I had to use 3dsmaxs built in exposure control tools that enabled me to match the lighting in the scene.
Render Setup: Once I had finished setting up the scene I was ready to render. To ensure that I had the most realistic looking results I adjusted my render settings to suit the scene I was compositing the tank into.
2D COMPOSITION
AE composition: The final stage of this effect was compositing the rendered tank image over the original footage in Adobe After Effects. I imported the tanks beauty and shadow pass into the project and dragged them into my composition, after this I key framed their scale for the tank to grow in size as it the lightning strikes the table.
Add Lightning Effect:
First I created a solid colour layer that I placed at the top of the composition, I then applied the lightning effect, this turned my solid layer to resemble lightning however I still had to adjust some parameters of the effect, such as positioning, colour and speed I also applied a glow effect to emphasize the effect. Once I was happy with the lightning bolt I'd created I key-framed the aforementioned parameters so to give the effect of the bolt coming from the actors eyes, which had been planned in my script:
Creating Muzzle Flashes:
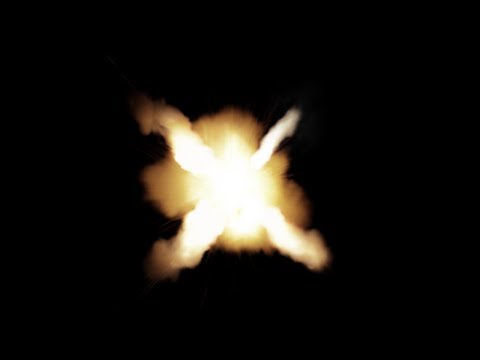
In order to create the flashes from the muzzle of the tanks barrel I had to import 2D video assets from Video Copilots action essentials pack that contains hundreds of stock footage of explosions, fire and smoke that have been prepared for composition, meaning when overlaid on footage the background is removed.
The image below is an example of the stock footage used.
Once I'd finished creating the effects in After Effects I then exported these clips to mov format at 24 FPS, to match the FPS of my Premiere Pro sequence. I then imported these edited clips into Premiere Pro and replaced the placeholder videos with the new edits.
COLOUR GRADING
Colour Grading was the last effect I applied to the video so that I could ensure that the colours of each shot matched one another throughout the film. To colour grade this production I used Magic Bullet Looks a professional standard plugin for After Effects that open up a separate window (seen below) giving the editor access to a vast array of colour editing tool such as saturation, contrast, brightness, curves, levels and diffusion.
The most significant impact colour grading has on the film is the impact on the tone/mood or atmosphere of the scene, for example in Comedies or kids shows colours are often very bright and warm to create a more friendly feel while in war, action or horror films colours tend to be darker with hints of blue or green shading. I have used both types of colour grading in my film as the film has two very distinct moods that change half way through the production.
 |
| This is the Magic Bullet Looks window that pops up when the effect is applied to a layer. |
 |
| This is the preset panel within Magic Bullet that allows you to apply colour correction presets. |
 |
| This lower panel allows you to select, add and remove individual effects so you're able to fully customise your effect. |
GREENSCREEN
Chroma key compositing, or chroma keying, is a special effects / post-production technique for compositing (layering) two images or video streams together based on colour hues (chroma range).
This technique has been used heavily in many fields to remove a background from the subject of a photo or video – particularly the newscasting, motion picture and post production industries.
In my production I used this method to remove the background from an actor so I could replace it with a 2D graphic that I had created on Photoshop
One day my actor could not reach me, this meant I had to go to his house and shoot instead, however I needed it to look as if he was on set, so to solve this I took a greenscreen and replaced the background in After Effects.